Working with Rails Engines, Importmap and TailwindCSS for assets.
This is the nonexistent guide on how to work with Rails engines using Importmap and TailwindCSS for assets.
Rails engines are one of my favorite tools when I want to isolate reusable functionality for Rails applications. An example of this is the NoPassword gem, which allows users to login into an application just with their email and the received link and code.
With Rails 3.1, the engines were mountable and integrated with the Asset Pipeline to manage the engine’s assets. This continued to work this way until Webpack was introduced to Rails in version 5.1. At this moment, it was not clear how to make Webpack work with the engine’s assets or any other gem that included assets.
Rails 7 introduced CSS and JS bundling, along with the Propshaft gem to manage and serve assets. Also, introduced Importmaps and TailwindCSS as options for not having Node as a dependency, but in both cases without any official word on how to make these work with engines.
NOTE: Importmap’s README explains how to composite multiple Impormap configurations. https://github.com/rails/importmap-rails#composing-import-maps
Working on the NoPassword engine and a few private others, I decided for them to use Importmaps, TailwindCSS, and Propshaft. It led me to figure out a way to use the engine assets. The rest of this post describes my successful journey with assets and engines.
Importmap engine configuration
First, let’s try the route described in Importmap’s README file.
To install Importmap in an engine project, it requires adding the gem to the dummy app and adding the dependency to the engine’s gem spec file.
Install Importmap and add it as a dependency to the Gemfile as follows:
bundle add importmap-rails
And add it to the gem spec file.
spec.add_dependency "importmap-rails", "~> 1.2", ">= 1.2.1"
Then run the bundle command and navigate to the test/dummy app to execute the installer in the dummy app.
cd test/dummy && bin/rails importmap::install
Following the README instructions for composite Importmaps, open the lib/my_engine/engine.rb file and add the following hook - remember to replace ******my-engine****** with the name of your engine -:
module MyEngine
  class Engine < ::Rails::Engine
    # ...
    initializer "my-engine.importmap", before: "importmap" do |app|
      app.config.importmap.paths << Engine.root.join("config/importmap.rb")
      # ...
    end
  end
end
Then create the file config/importmap.rb and pin the engine’s javascript assets.
pin_all_from File.expand_path("../app/assets/javascript", __dir__)
To test this setup, two Stimulus controllers were added, one in the engine’s app/assets/javascript and another one at the dummy app test/dummy/app/javascript/controllers.
# app/javascript/controllers/host_controller.js (Dummy APP)
import { Controller } from "@hotwired/stimulus"

export default class extends Controller {
  connect() {
    console.log("Connected")
    this.element.textContent = "Hello World! This is a Javascript from the Host"
  }
}

console.log("Loaded")

# app/assets/javascript/engine_controller.js (Engine)
import { Controller } from "@hotwired/stimulus"

export default class extends Controller {
  connect() {
    console.log("Connected")
    this.element.textContent = "Hello World! This is a Javascript from the Engine"
  }
}

console.log("Loaded")
Set up Stimulus in the dummy app by adding the gem and running the installer.
cd test/dummy
bundle add stimulus-rails
./bin/rails stimulus:install
The Dummy app has a HomeController with an index action. The index template has two divs. One for host_controller.js and the second one for engine_controller.js .
<h1>Engine's Stimulus controller (Host app)</h1>
<div data-controller="host"></div>
<div data-controller="engine"></div>
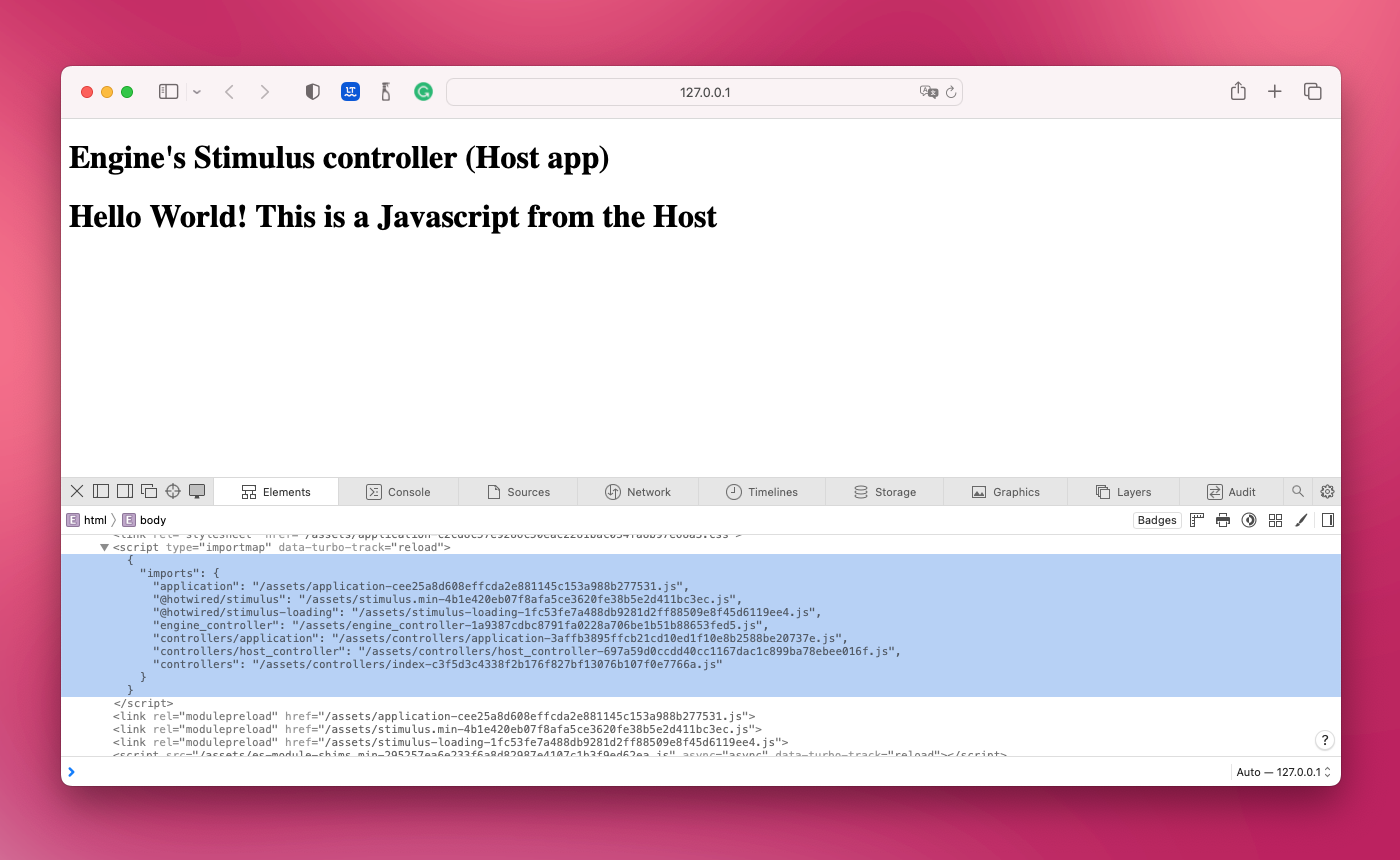
Unfortunately, this setup does not work, at least for my use case, where I expect the engine to have Stimulus controllers available in the host application, the Dummy app in this case. The engine’s controller is there in the imports manifest but is not loaded in the context of the Stimulus application.
The way that I make this work is to first organize the engine’s Stimulus controllers with the following directory structure: app/assets/javascript/my_engine/controllers
Next, modify the Dummy app’s config/importmap.rb and add the following line at the end of the file.
pin_all_from MyEngine::Engine.root.join("app/assets/javascript/my_engine/controllers"), under: "controllers", to: "my_engine/controllers"
With this change, reload the page, and now it is working! The engine’s Stimulus controller is loaded by the host application.
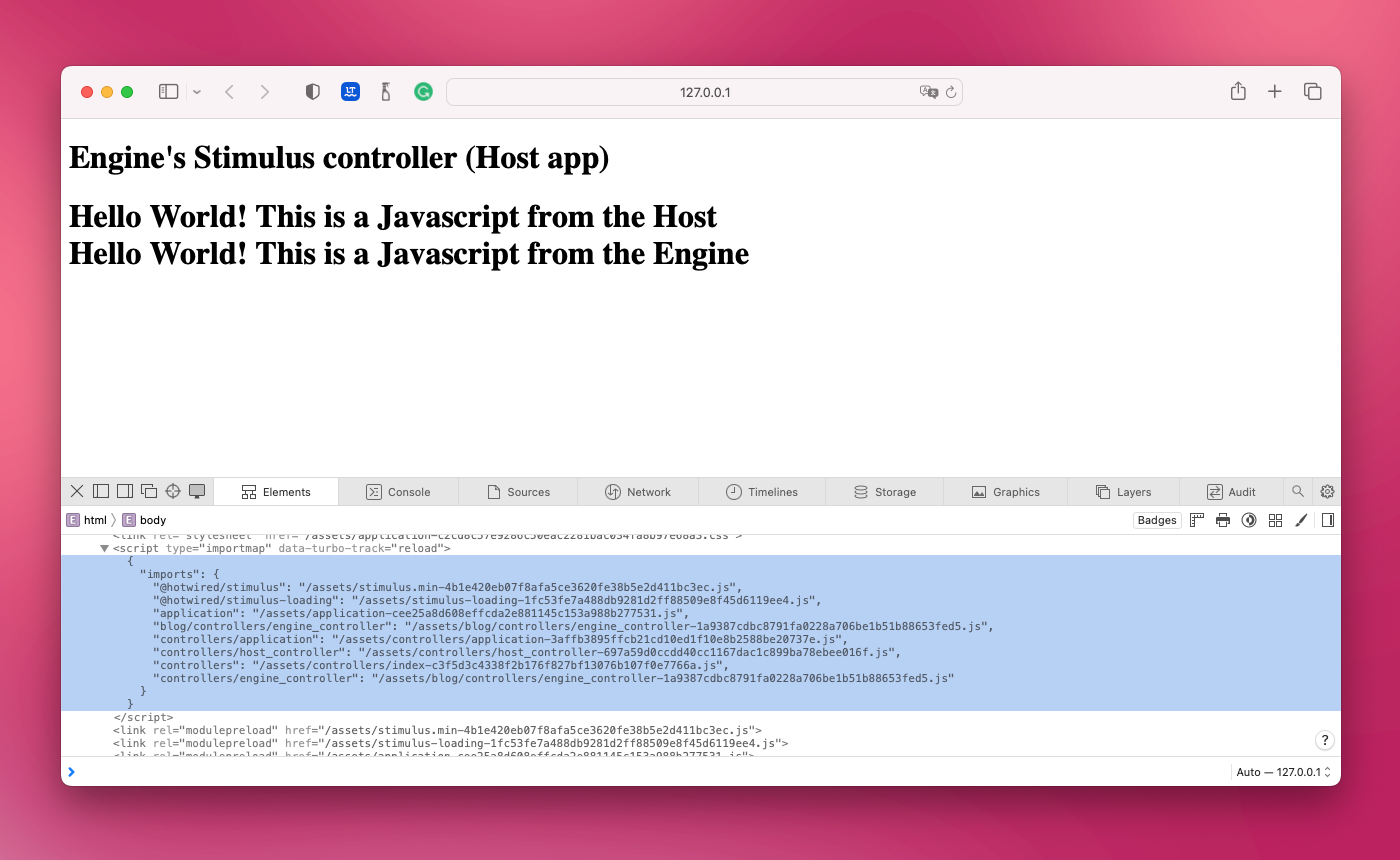
In the Importmap repository, there is an open issue about how to make the gem work with engines, and the user muriloime mentions this solution https://github.com/rails/importmap-rails/issues/58
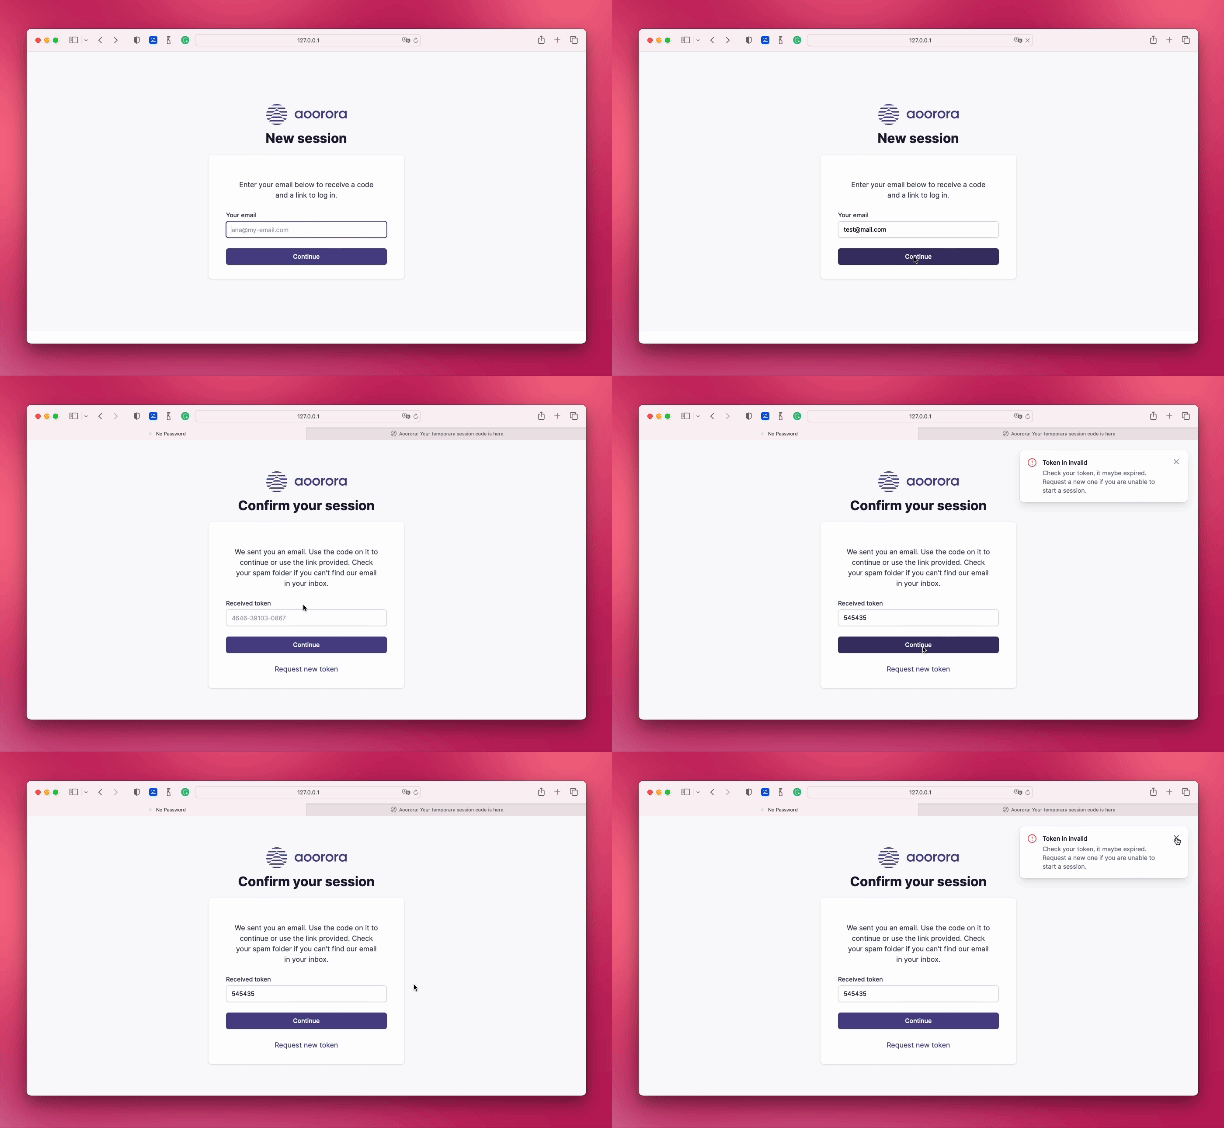
Now, what about making Importmap work with the engine’s own views? In the case of the NoPassword gem, it provides views for the login process and uses a Stimulus controller to display errors; it does not depend on the host application in any way.
First, add Stimulus as a gem dependency to the gem spec file and execute the bundle command.
spec.add_dependency "stimulus-rails", "~> 1.2"
The installer is not available inside the engine, so this step requires adding a few files manually. Let’s start with the javascript files.
# app/assets/javascript/my_engine/application.js
import "controllers"

# app/assets/javascript/my_engine/controllers/index.js
// Import and register all your controllers from the importmap under controllers/*

import { application } from "controllers/application"

// Eager load all controllers defined in the import map under controllers/**/*_controller
import { eagerLoadControllersFrom } from "@hotwired/stimulus-loading"
eagerLoadControllersFrom("controllers", application)

// Lazy load controllers as they appear in the DOM (remember not to preload controllers in import map!)
// import { lazyLoadControllersFrom } from "@hotwired/stimulus-loading"
// lazyLoadControllersFrom("controllers", application)

# app/assets/javascript/my_engine/controllers/application.js
import { Application } from "@hotwired/stimulus"

const application = Application.start()

// Configure Stimulus development experience
application.debug = false
window.Stimulus   = application

export { application }
Open the file config/importmap.rb and replace the content with the following pins that load Stimulus and the engine’s controllers:
pin "@hotwired/stimulus", to: "stimulus.min.js", preload: true
pin "@hotwired/stimulus-loading", to: "stimulus-loading.js", preload: true

pin "application", preload: true

pin_all_from MyEngine::Engine.root.join("app/assets/javascript/my_engine/controllers"), under: "controllers", to: "my_engine/controllers"
Instead of composing a global Importmap, we are going to set up a local configuration for the engine. Open the lib/my_engine.rb file and add the following code:
require "my_engine/version"
require "my_engine/engine"

require "importmap-rails"

module MyEngine
  class << self
    attr_accessor :configuration
  end

  class Configuration
    attr_reader :importmap

    def initialize
      @importmap = Importmap::Map.new
      @importmap.draw(Engine.root.join("config/importmap.rb"))
    end
  end

  def self.init_config
    self.configuration ||= Configuration.new
  end

  def self.configure
    init_config
    yield(configuration)
  end
end

MyEngine.init_config
Here, a configuration class was added to the engine. It has only one setting, where it initializes a new Importmap with assets belonging to the engine. Be aware that sweepers are not set up for Importmap; this means that changes made during development with the engine will not be taken until the app is restarted. This configuration can be extended to include more engine settings if needed.
Now we need to create a helper similar to javascript_importmap_tag that is aware of the engine’s Importmap configuration. Open the app/helpers/my_engine/application_helper.rb and add the following method.
def my_engine_importmap_tags(entry_point = "application", shim: true)
  safe_join [
    javascript_inline_importmap_tag(MyEngine.configuration.importmap.to_json(resolver: self)),
    javascript_importmap_module_preload_tags(MyEngine.configuration.importmap),
    (javascript_importmap_shim_nonce_configuration_tag if shim),
    (javascript_importmap_shim_tag if shim),
    javascript_import_module_tag(entry_point)
  ].compact, "\n"
end
Now open the engine’s layout and replace the javascript_importmap_tag with my_engine_importmap_tags.
To test this, add a controller named MyEngine::HomeController with an index action and a div that uses engine_controller.js to it.
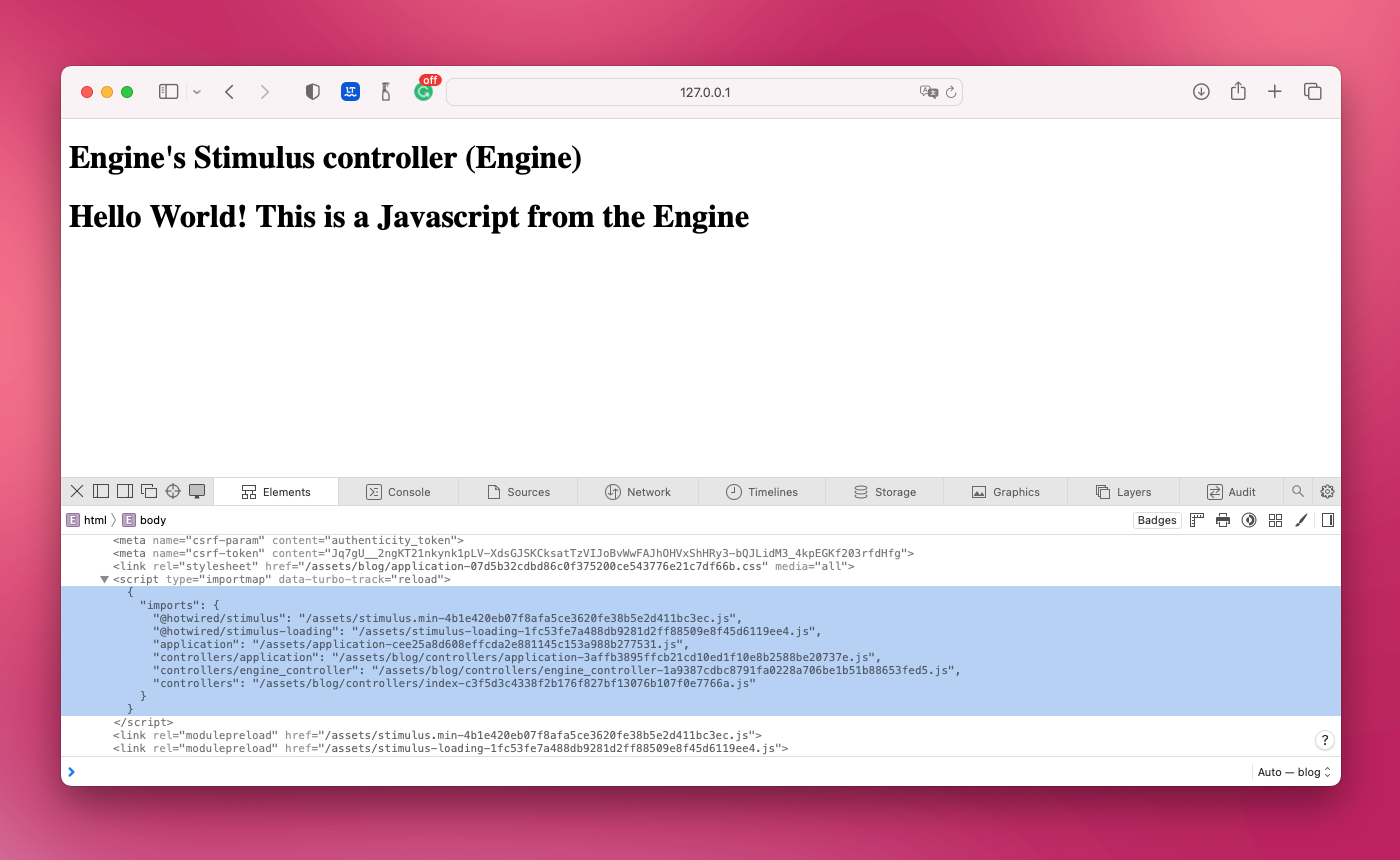
These are the two configuration options for Importmap with engines. Share the engine’s Stimulus controllers with the host app, or use the engine’s Stimulus controllers internally for the engine’s templates.
TailwindCSS engine configuration
The steps to install it are simple. First, let’s install it into the Dummy app.
cd test/dummy && bundle add tailwindcss-rails
./bin/rails tailwindcss:install
For the Dummy app that comes with the engine in development mode, there are two additional steps that are not required when the host app is not the Dummy app.
Ensure that the TailwindCSS task runs with Foreman or Overmind using your Procfile.dev.
web: bin/rails server -p 3000
css: bin/rails app:tailwindcss:watch
Also, change the test/dummy/config/tailwind.config.js file that was installed by TailwindCSS to have the right path to the Dummy app. Change the content section to include the ./test/dummy path.
content: [
    './test/dummy/public/*.html',
    './test/dummy/app/helpers/**/*.rb',
    './test/dummy/app/javascript/**/*.js',
    './test/dummy/app/views/**/*.{erb,haml,html,slim}'
  ],
Restart your application, and it should work for the Dummy app.
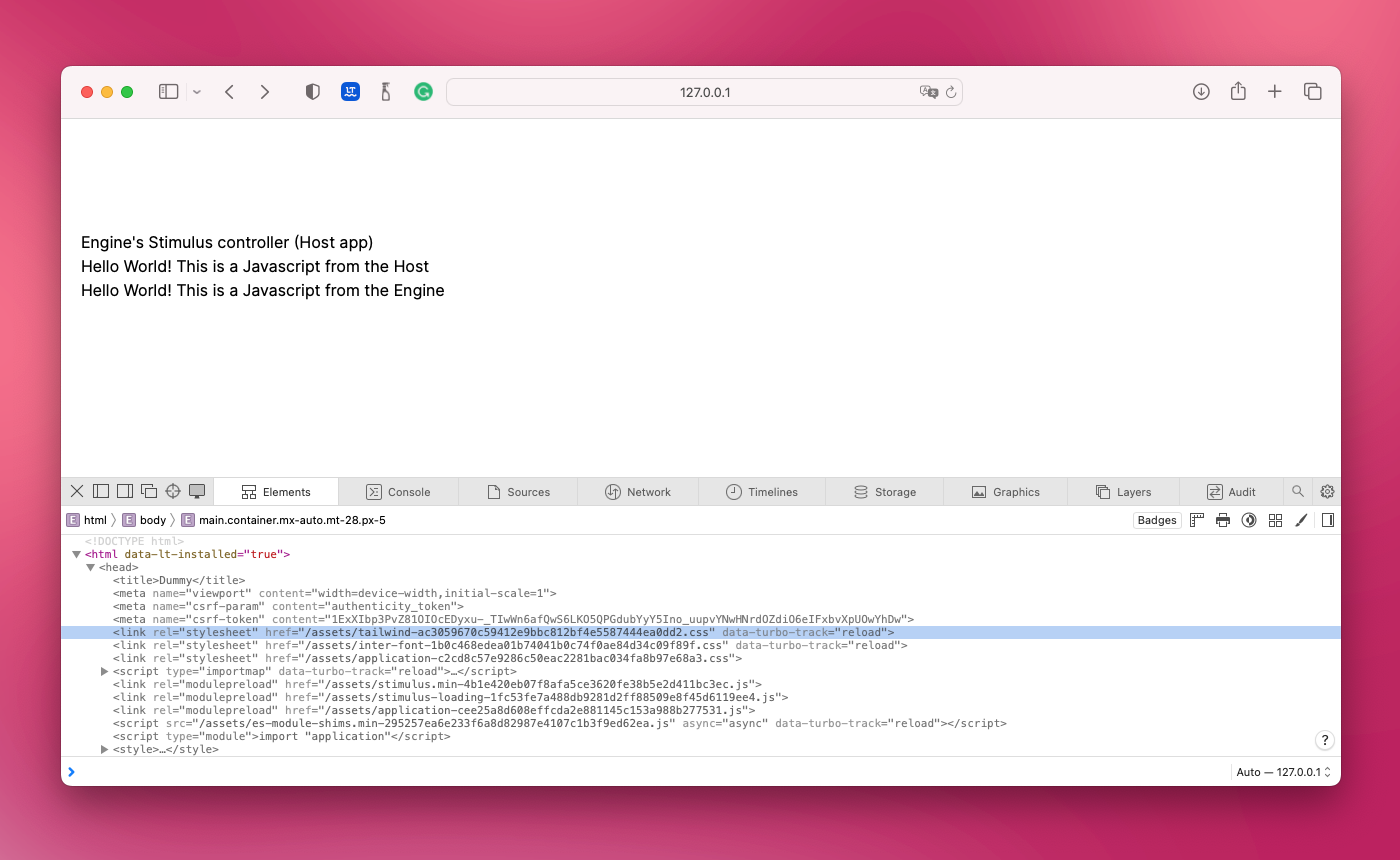
To extend the TailwindCSS styling into the engine’s templates, there are a few steps that need to be taken first. The host app, in our case, the Dummy app, needs to override the engine’s layout to include the TailwindCSS files. Copy the file app/layouts/my_engine/application.html.erb to test/dummy/app/layouts/my_engine/application.html.erb and add the following line in the head section:
<%= stylesheet_link_tag "tailwind", "inter-font", "data-turbo-track": "reload" %>
Navigate to an engine action, and you can confirm the general CSS reset of TailwindCSS is applied, but utility classes are ignored.
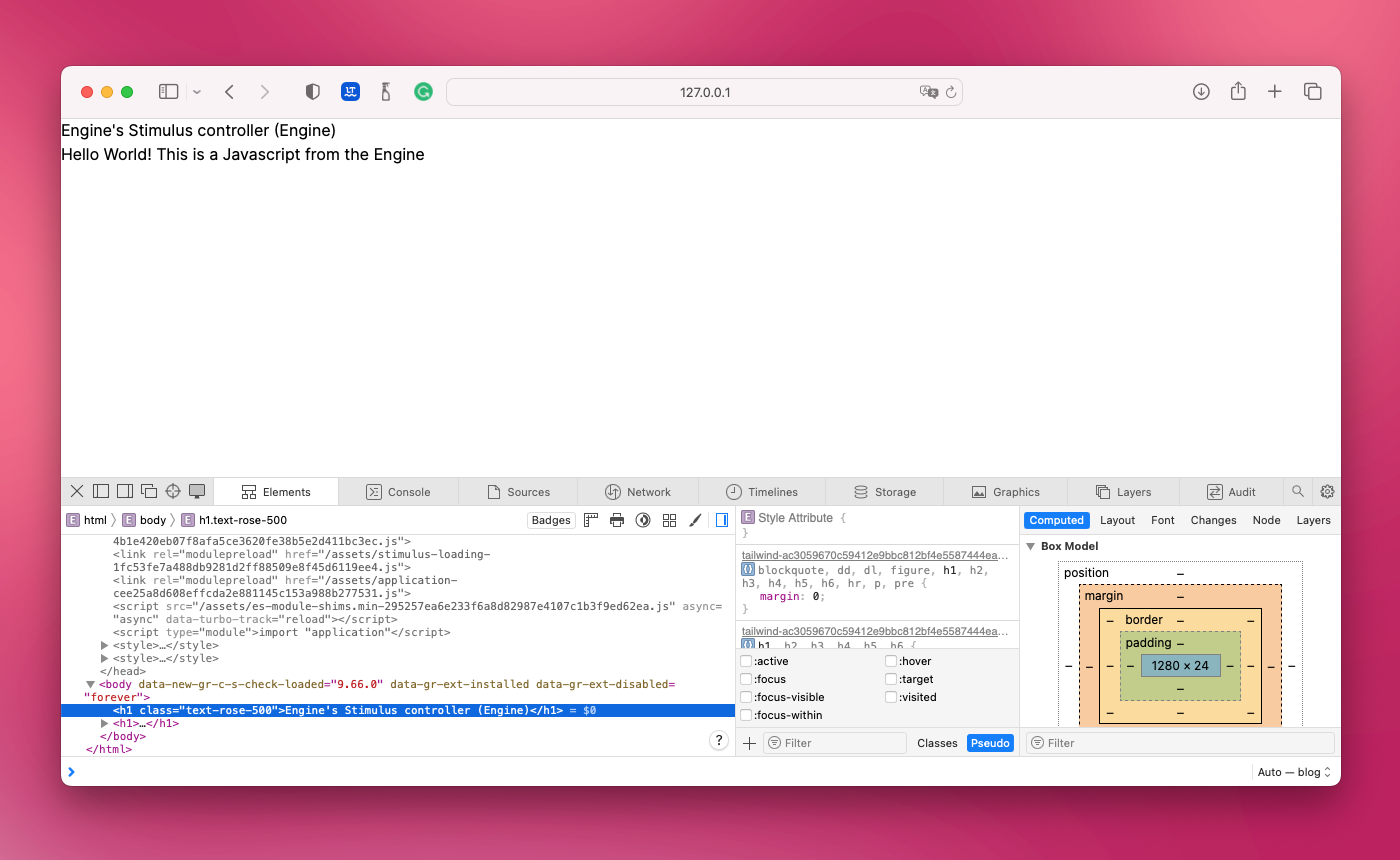
This happens because the file doesn’t know that it also needs to scan the engine templates for TailwindCSS classes.
To fix this, we need a rake task and a generator in the host or Dummy app. Create a file test/dummy/lib/tasks/tailwind.rake and add the following content:
# frozen_string_literal: true

namespace :tailwindcss do
  desc "Generates your tailwind config file"
  task :config do
    Rails::Generators.invoke("tailwind_config", ["--force"])
  end
end

Rake::Task["tailwindcss:build"].enhance(["tailwindcss:config"])
Rake::Task["tailwindcss:watch"].enhance(["tailwindcss:config"])
Here we are adding a tailwindcss:config task that invokes a generator (we are going to create this one in a moment) and enhancing TailwindCSS tasks provided by the gem by injecting this new task into the build process.
For the generator, create the file test/dummy/lib/generators/tailwind_config_generator.rb in the host or Dummy app and add the following code:
# frozen_string_literal: true

class TailwindConfigGenerator < Rails::Generators::Base
  source_root File.expand_path("../templates", __FILE__)

  def create_tailwind_config_file
    @engines_paths = MyEngine.configuration.tailwind_content

    # The second parameter for the template method is required only if the host app is the Dummy app;
    # for an external host app, remove that parameter.
    template "config/tailwind.config.js", File.expand_path("../../../config/tailwind.config.js", __FILE__)
  end
end
This generator, when executed, creates a new TailwindCSS config file from a template, but before doing that, in the create_tailwind_config_file method, we can set up the engine paths to consider when scanning for TailwindCSS classes.
In the code, the generator assumes that our engine configuration exposes a tailwind_content accessor with an array of paths.
Add an accessor to the Configuration class in file lib/my_engine.rb.
attr_accessor :tailwind_content
Also add to the initializer method of the same class the following paths:
@tailwind_content = [
  "#{MyEngine::Engine.root}/app/views/**/*",
  "#{MyEngine::Engine.root}/app/helpers/**/*",
  "#{MyEngine::Engine.root}/app/controllers/**/*",
  "#{MyEngine::Engine.root}/app/javascript/**/*.js"
]
Moving back to the template file in the tailwind_config_generator, this is the TailwindCSS config file, but it will be created dynamically by the task to be able to inject the engine paths into it.
Move the file test/dummy/config/tailwind.config.js to lib/generators/templates/config/tailwind.config.js.tt and modify the content section as follows:
content: [
    './test/dummy/public/*.html',
    './test/dummy/app/helpers/**/*.rb',
    './test/dummy/app/javascript/**/*.js',
    './test/dummy/app/views/**/*.{erb,haml,html,slim}',
    <%= @engines_paths.map{ |path| "'#{path}'" }.join(",\n") %>
  ],
Add the file test/dummy/config/tailwind.config.js to .gitignore file, since this file will be generated automatically.
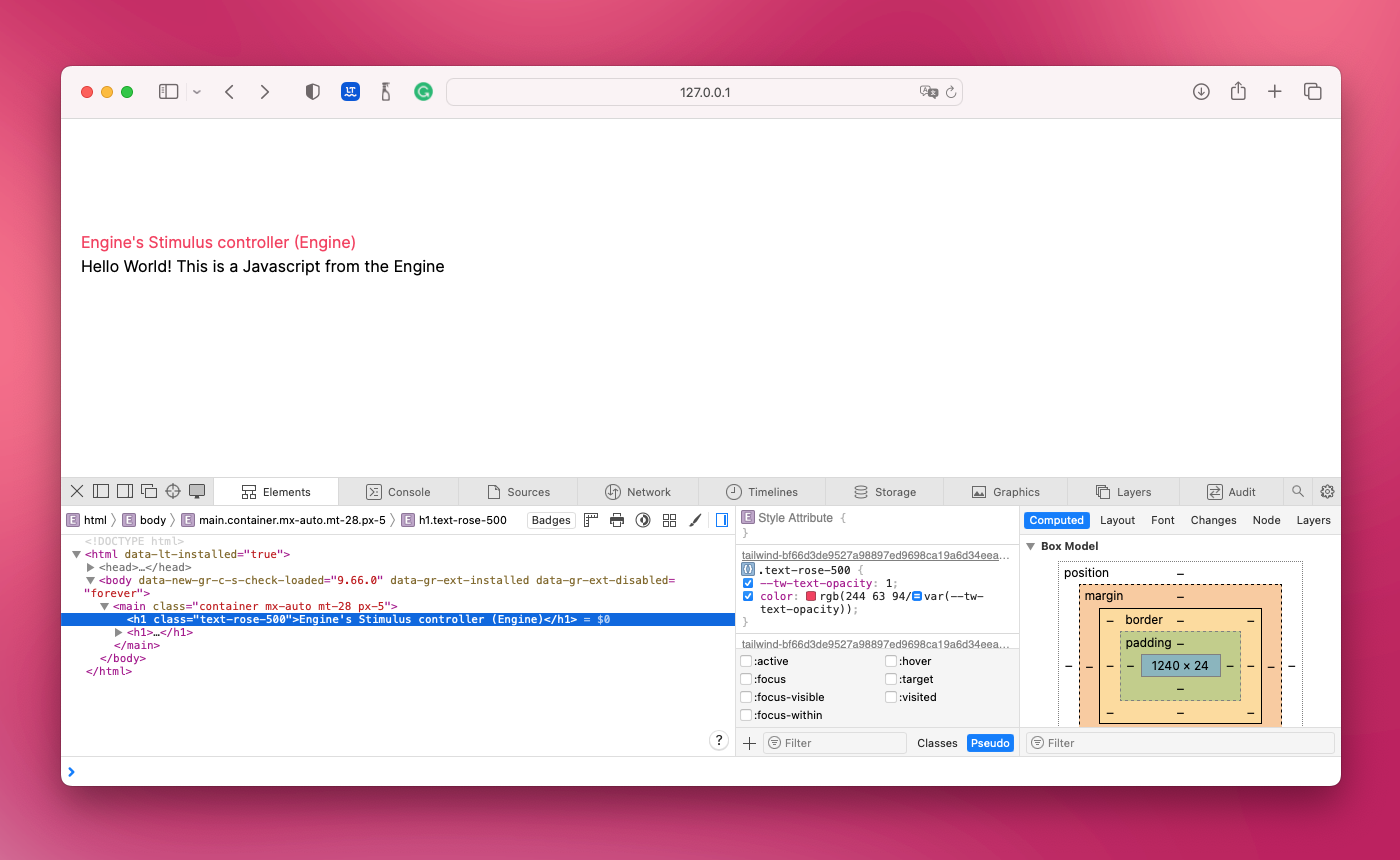
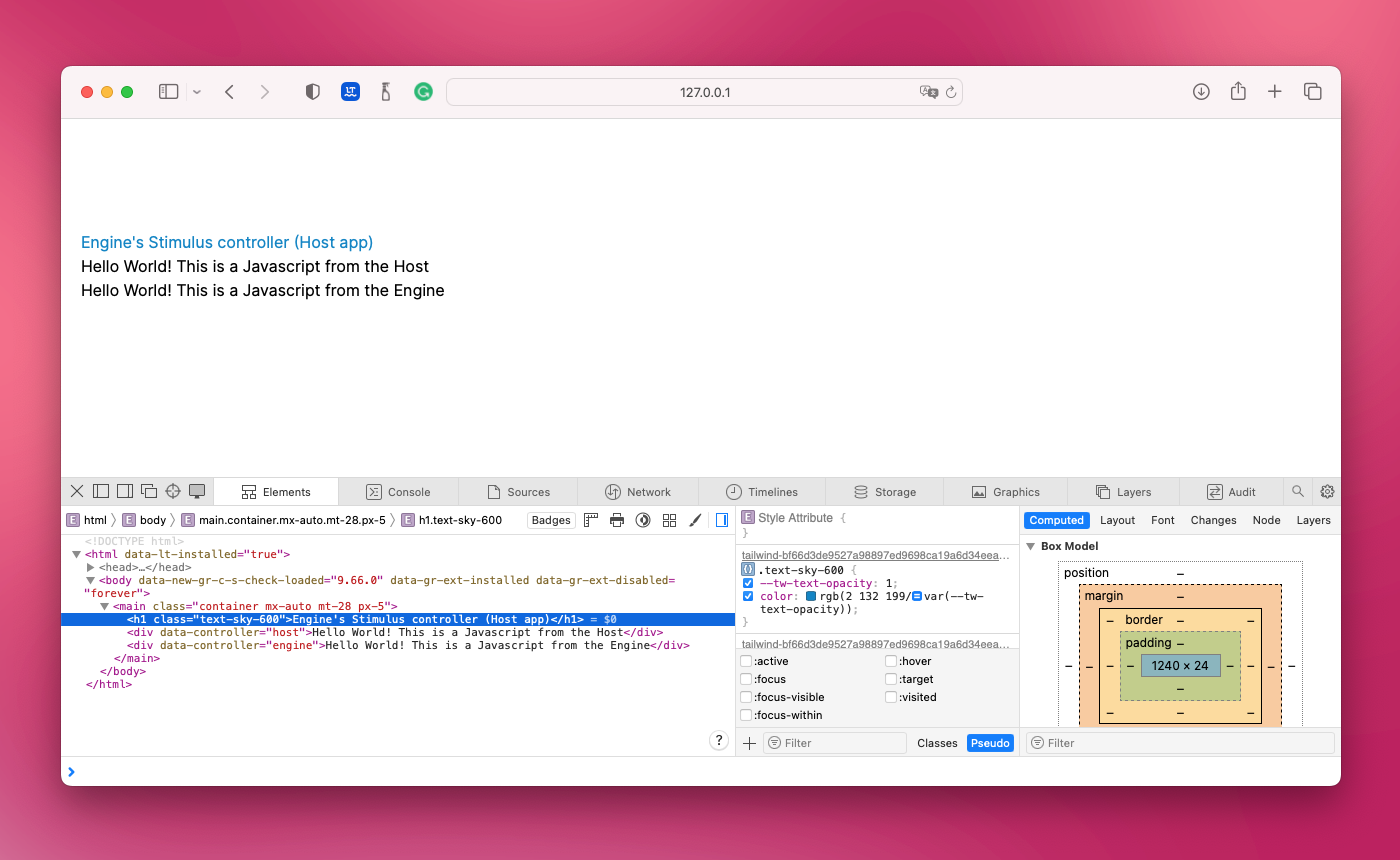
Restart the application, navigate the view in the host app and a view in the engine, and confirm that TailwindCSS is working for both cases.
Wrapping up
This is how I have been working with the Rails engines Importmap and TailwindCSS. Most of the knowledge here came from reading the source code of the libraries and trial and error.
If you are looking to work with engines and this tool set for assets, please give it a try and let me know how it goes or if there is a better, simpler way to archive the same.
